Today we made precise measurements for the linkages and laser them out of cardboard. We attached them and they work well. We then started work on a cloth cover for the handles and an acrylic flame for the mouth.
Today we started by making a second Prototype of the bottle squeezer. For full info on that please see the posts below. We then shifted our focus to our idea to make the wire strippers into a shadow puppet. We spent the remaining time creating a prototype mechanism for a tongue.
All users can use NuVu's cloud service to share files for lasercutting and between collaborators. There are two options for accessing NextCloud, on the Web or through a client. Using the desktop client is preferable, but if you have issues, the web client works as well.
Web Client
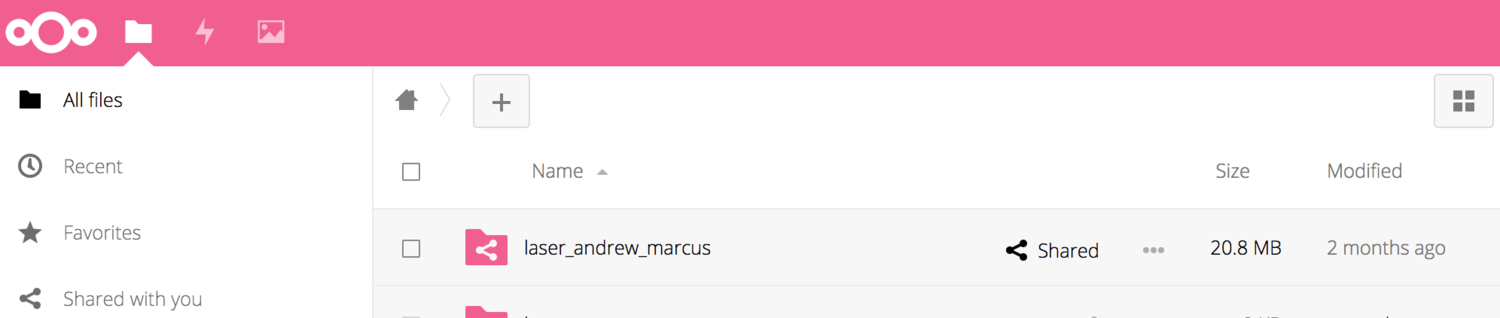
 for the folder, choose "share with Nextcloud" and share it with the user name provided by your Coach.
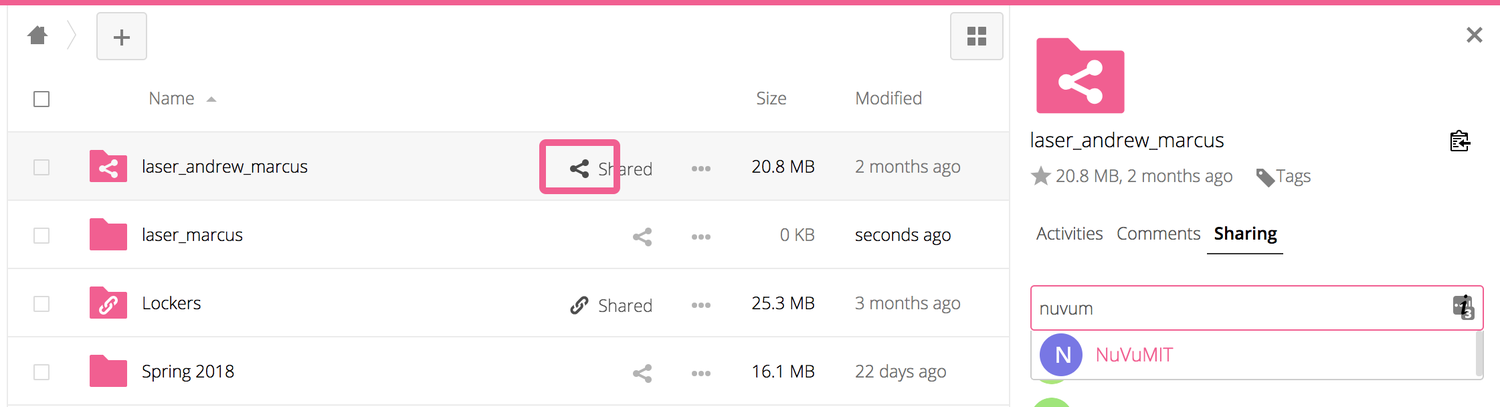
Desktop Client
NuVu users Rhino5. The trial version will function fully for 90 days in trial mode.
Download Rhino
Enter your email in order to download the program.
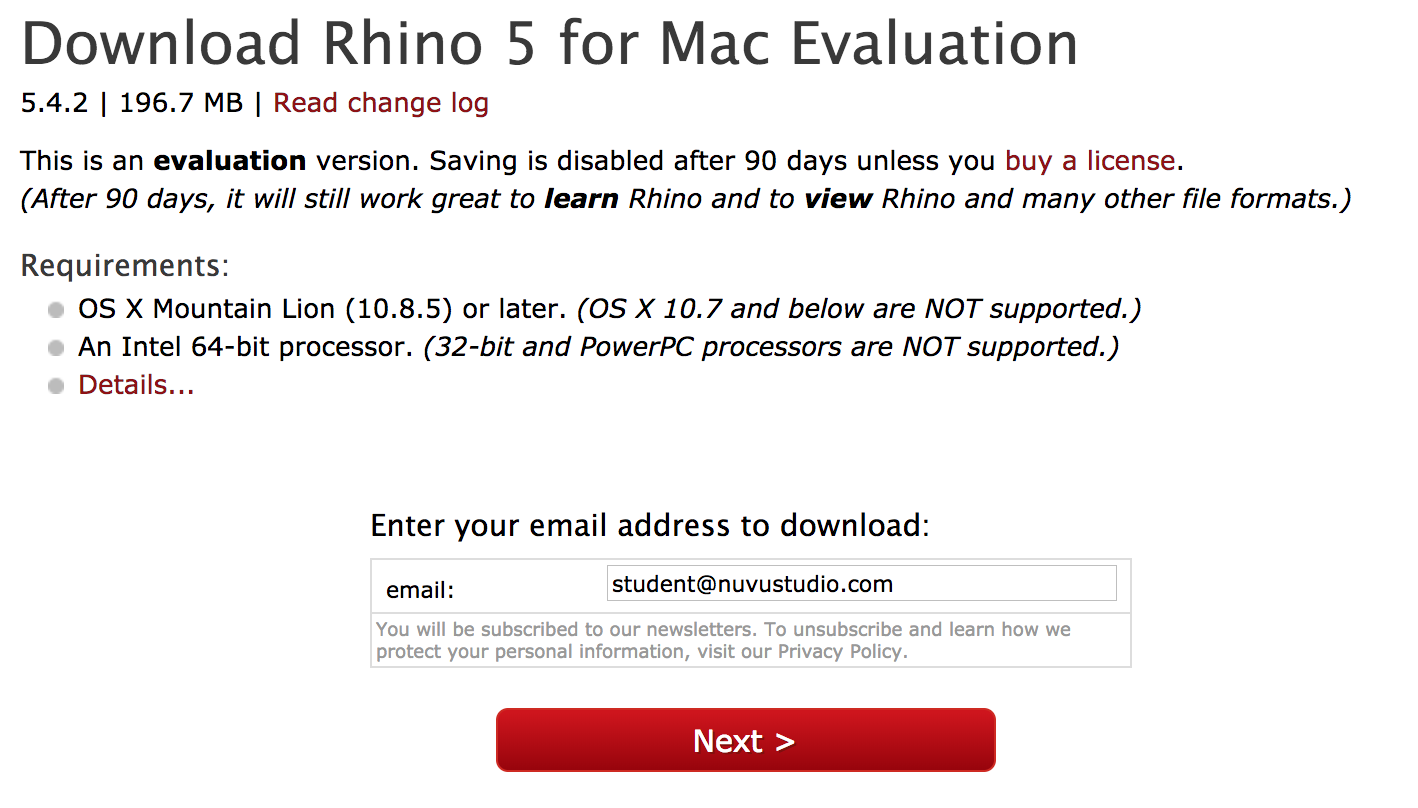
You will receive an email with license information.
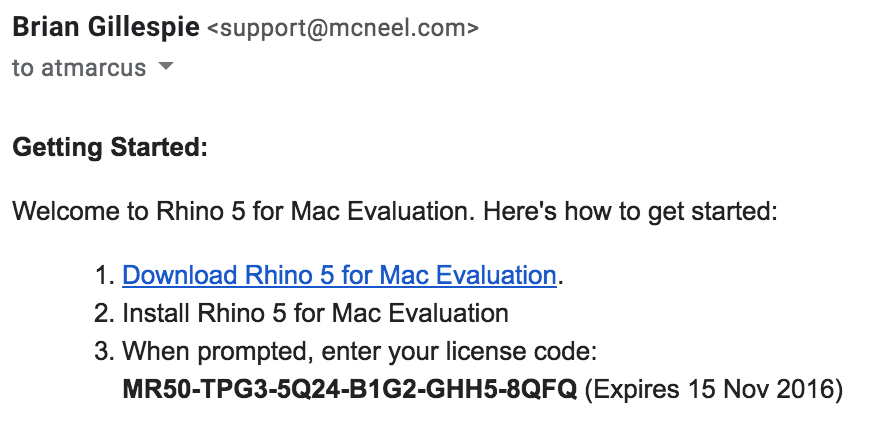
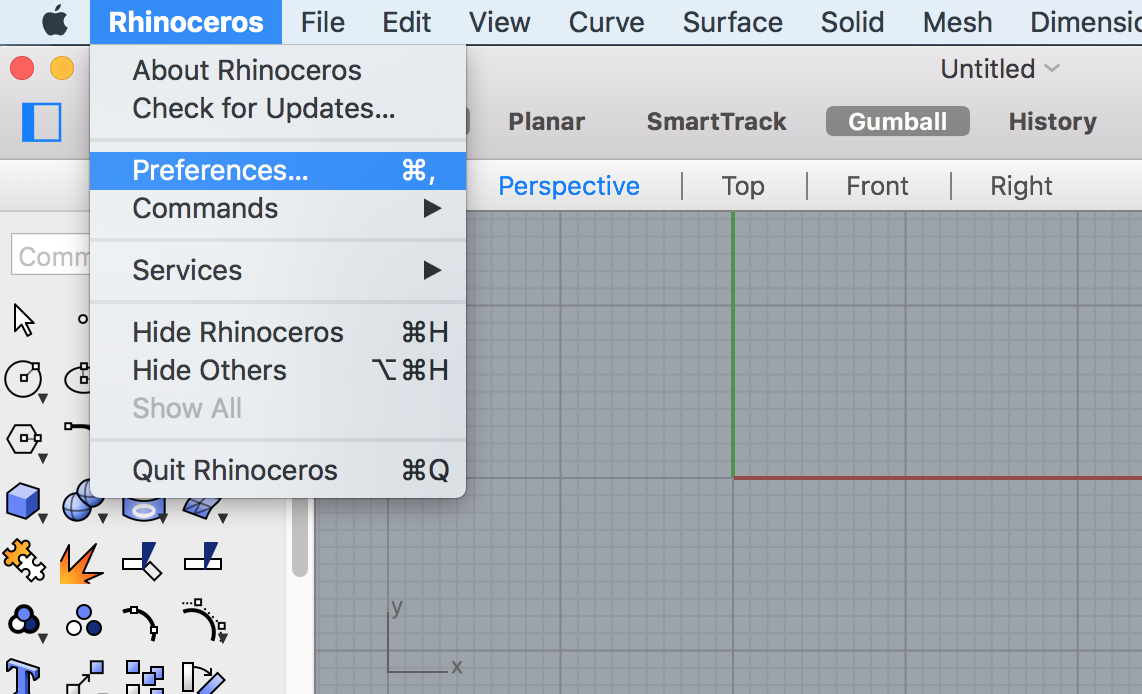
In Rhino, go to Preferences (or Options on a PC)
Select Licences
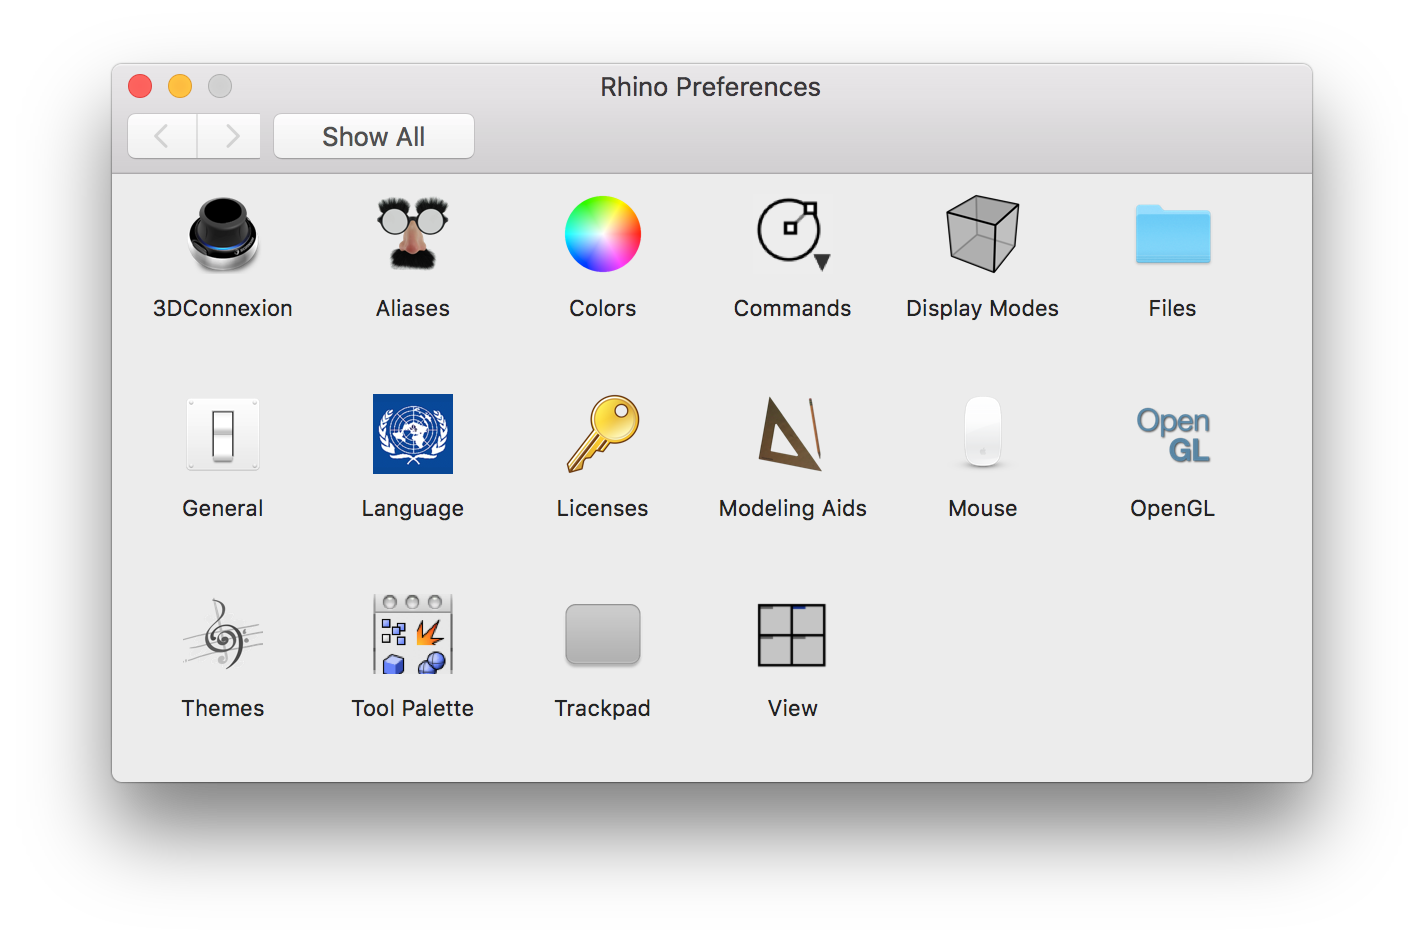
Copy and paste the information provided to you in the email

Click Done. You are good to go for 90 days!
Rhinoceros (abbreviated Rhino) is a commercial 3D computer graphics and computer-aided design (CAD) application software based on NURBS mathematical model, which focuses on producing mathematically precise representation of curves and freeform surfaces in computer graphics (as opposed to polygon mesh-based applications).
Rhino is ideal to use when you are drafting in 2D and creating 3D prototypes from flat stock on the laser cutter. Rhino can also be used to quickly develop parts for 3D printing that will not need complicated revisions. Rhino is exceptionally robust and is ideal for figuring out complicated geometries in three dimensions. It is also simple to create exceptionally clear 2D diagrams from a 3D file. Rhino excels at complex and/or repetitive geometries. Using plug-ins such as Grasshopper, you can develop parametric geometries.
The videos below give a basic introduction to working with Rhino in 2D. Some of the videos use sample files which are in the zip file attached to this post. The two attached PDFs also give a concise and clear explanation of the commands.
:rotate(0)/4vak3w14u05cp2adek22clelc2ua)
:rotate(0)/au3xjf8jbjailje94ukqgao1pewv)
:rotate(0)/8ecrkdhkicisoms4omcrdefn372u)
:rotate(0)/t8264scfea4rhtdnbjh5cnazkwiq)