
Blog

Busy trying to understand the brain

Saba Ghole
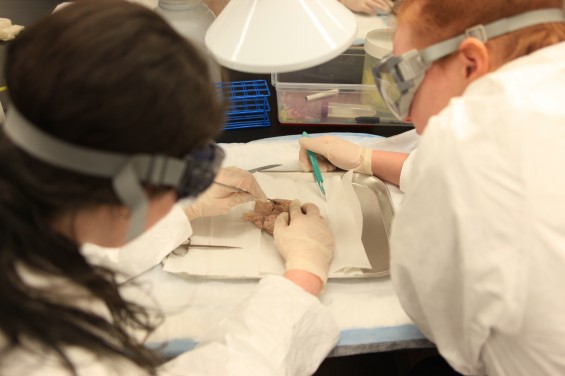
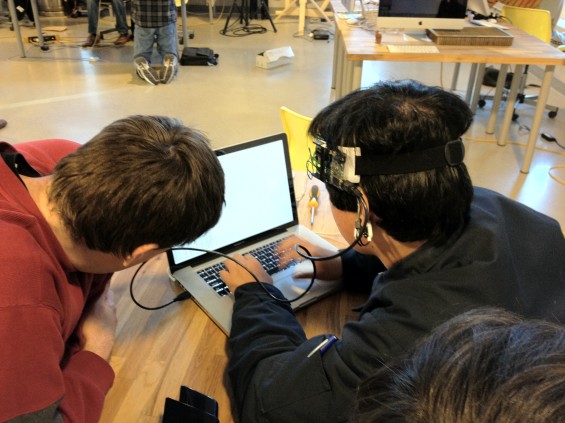
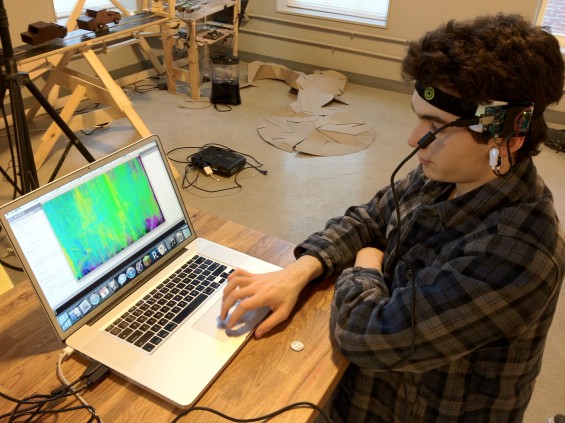
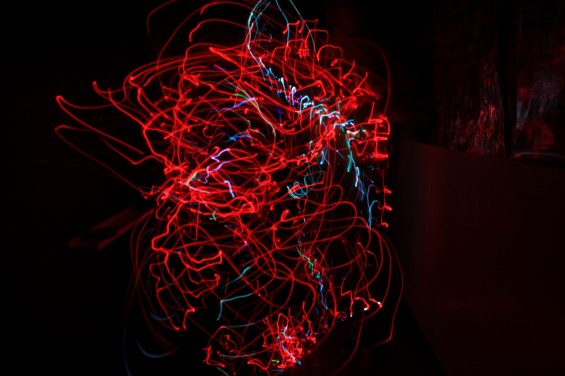
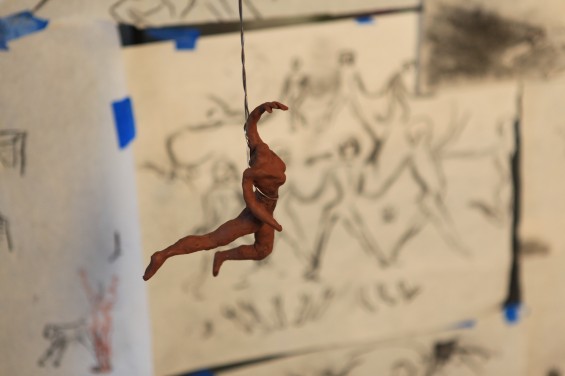
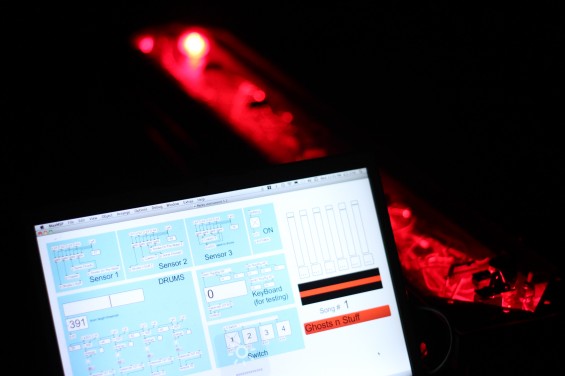
For the past few weeks, we have been dissecting sheep brains, hacking EEG headsets, capturing tons of sleeping data through the Zeo, capturing movement and dance, designing interactive art projects for people with synesthesia.


Getting ready for the exhibit

Saba Ghole
Things have been quite busy the past few weeks preparing for our winter exhibit. Some students wanted to improve older projects and others decided to work on new projects rather than improve on older ones. Another group has been creating a film about the students' experience at NuVu this winter. Some also have been working on the dancing robots stage. So much creativity!!!!!!!!


Fall "Food" 2011 Exhibit

Saba Ghole


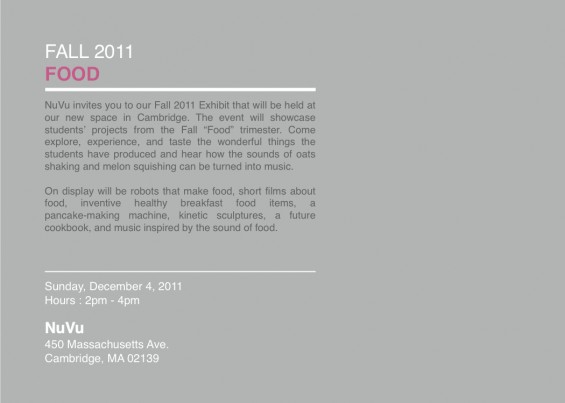
NuVu invites you to our Fall 2011 Exhibit that will be held at our new space in Cambridge. The event will showcase students projects from the Fall Food trimester. Come explore, experience, and taste the wonderful things the students have produced and hear how the sounds of oats shaking and melon squishing can be turned into music. On display will be robots that make food, short films about food, inventive healthy breakfast food items, a pancake-making machine, kinetic sculptures, a future cookbook, and music inspired by the sound of food. Sunday, December 4, 2011 Hours : 2pm - 4pm

Designing a Sustainable Tomorrow

Saba Ghole
Film by Tess Anderson, Nick Laycox, Joanna Pride Produced by students at NuVu, this piece takes a personal view of MIT Sloan's Sustainability Certificate Program, a new initiative focused on examining the alignment between healthy businesses, healthy environments, healthy societies, and an economy that serves human needs. Current Sloan and Sustainability Certificate Program students talk about the significance of sustainability in their lives. Film Synopsis: The purpose of this video is to create greater awareness of the Sustainability Certificate Program offered through the Sloan School at MIT by interviewing students and faculty who describe some of the progressive educational initiatives being implemented. This important program focuses on new business models and better practices that companies will need to undertake in order to build a sustainable future. The video will define sustainability as it applies to the Sloan School along with some of the methods individual people and companies can utilize towards reversing current unsustainable trends.

Stay-Awake Hat

Saba Ghole
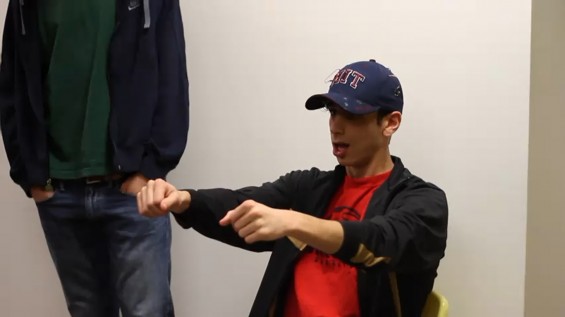
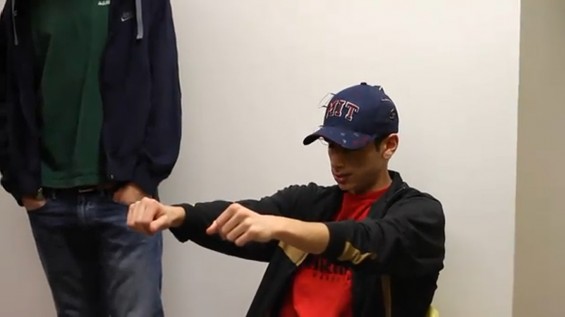
Alex demonstrates the Stay-Awake Hat by posing as a sleepy, behind-the-wheel driver. As the driver slowly begins to tilt his head, the Stay-Awake Hat sounds a high-pitch buzz and jolts the driver awake!
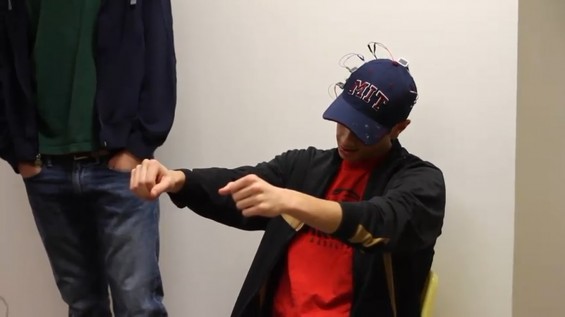


Design-Build Team: Kayla Guzovsky, Alex Jacobs, and Jay Rodman For our project in this studio we wanted to build a device that would prevent people from falling asleep during long car rides. We first wanted to make glasses that would track eye movement, but finally decided on a hat that would respond to the tilt of ones head. Our final project was an MIT hat that had an Arduino unit, an accelerometer, a LilyPad buzzer, and a nine-volt battery attached to it. The Arduino was programmed to get information from the accelerometer about the tilt of a persons head and decide if the tilt implied that a person was sleeping. If the serial monitor registers that the numbers are above a preset number, the buzzer will turn on. In order for the buzzer to turn off, the person must tilt their head back up past another preset number. For this to happen in our coding we had to use flags so that we could have the hysteresis; otherwise the buzzer would turn on and off based on one threshold. Programming the buzzer also took some work. When we first attached it to the Arduino unit, the tone was very low and not very loud. We had to change the delay to adjust the frequency of the buzzer so that it would be higher pitched and louder. This worked, but it still was not the exact sound we wanted. To make it even louder, we put the buzzer code in a 4-loop. This made the buzzer even louder and gave it a better tone. The hardest ascpect of this project was getting all of the code to work together and using the space on the hat most effectively. The code was probably the biggest part of this project. Getting all the correct numbers and getting the buzzer to work with the accelerometer was the most time-consuming aspect of the project. Also there wasnt a lot of space on the hat, but a lot of wires. Finally, we made the hat powered by a nine-volt battery instead of needing the computer to power it. In the end, our project came out really well. We were able to make it work just how we had imagined it. Future steps would be to try and design the hat with the Arduino unit for a nicer look and to improve the comfort of it.

Drawing Robot Mania

David Wang's Drawing Robot Studio will finish on a high note tomorrow: Eleven students worked on 7 different Drawing Robots! 

In this studio, the students designed and built robots that are capable of creating art. The process of building included hardware, electronics, and coding. The teams produced working prototypes in only 9 days. The students' robots include a wall printer, a color fan robot,  a 3D painter, a circle drawing robot, a painter that uses magnets and color, and a pencil-walking robot. The slideshow above will give you a first taste of the artistic potential of these robots. 

A big Thank You to our Interns Neil and Max. They made it happen; together with David, Saeed and the students!
Shower Solutions for Kibera

Saba Ghole
Post by Ken Griffith The studio was created for students to undergo two major challenges: 1) Design solutions around basic needs 2) Design remotely without prior knowledge of the community

For 2 weeks, students were immersed into the culture of Kibera, Kenya with two simple resources: the internet and mobile phones. The students were tasked with contextualizing themselves about Kibera, Kenya in order to design effectively for the community.


Process The students were tasked with coming up with their own toolkit/process for designing remotely for a developing country. They had to design showers for the community of Kibera, based on the feedback and input of the community.

Methodology (survey and iterative design process) It is often necessary for the designers, the students in this scenario, to develop an understanding of context. In the studio, it was difficult for the students to develop an understanding of the community without engaging the community, in addition because of the remote nature of the studio. The students used a cloud-based platform called mSurvey to engage the community members in feedback and discussion about their daily shower experience. The community would send SMS feedback to the students based on automated questions the students input into the system. They were able to use the data to inform their design decisions.

Students' Engagement The students were responsible for creating their questions around their physical design prototypes to get feedback from the Kibera community to gauge the possible success of their design interventions. They found it necessary to ask concise questions to help their design process.

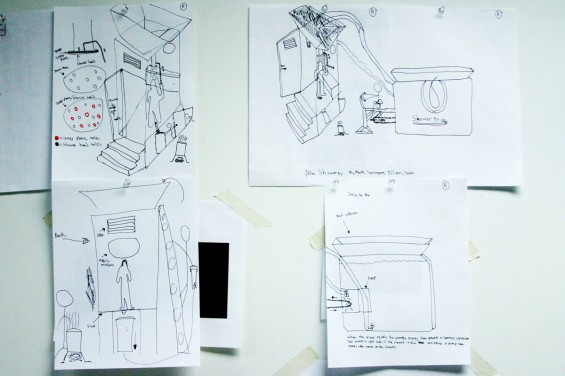
Projects The students designed and prototyped a few showers: 1. Investigated the water pressure of the shower experience 2. Investigated the conservation of water by the individual 3. Investigated the security and water recycling of the shower "run-off"


Instructions for the Steadywing

Saba Ghole
Some people have asked us to write detailed instructions of how to make the Steadywing. The design was completely done by film maker,

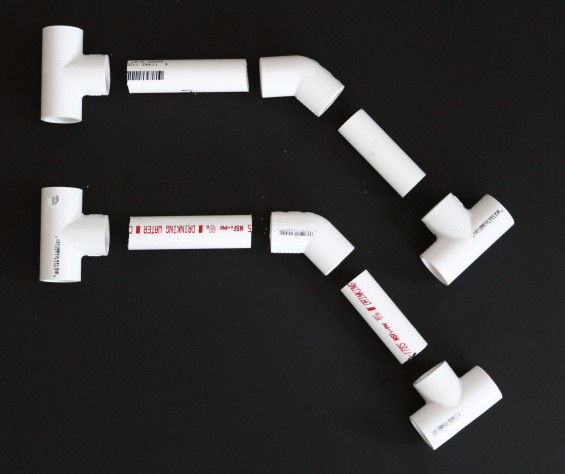
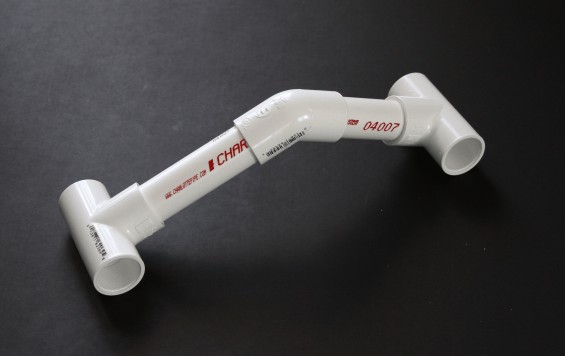
2. Layout the PVC that needs epoxy. - Fast-drying epoxy makes assembly easy, but means you need to know exactly which parts you are assembling. - Each "Wing" of the SteadyWing requires: 3" pipe, 4" pipe, 2 T-joints, 1 elbow joint. - If you want, use the marker to mark the ends of the joints and pipe that will be connected.

3. Mix up the epoxy. - Squeeze out a little epoxy onto a piece of paper. - Use the pencil to mix the epoxy. 4. Apply the Epoxy to the PVC. - Epoxy one connection at a time. Using the mixing pencil, apply a thin coat of epoxy to the inside of the joint and last 1/2" of the PVC pipe. Only epoxy the portions that will be attached. - INSERT the pipe into the joint. Use a towel to clean off any epoxy that squeezes out. - Epoxy the remaining connections. - To help ensure the angles of the wings are exact, lay each wing assembly so the flat ends of the T-joints rest on a table, with the elbow joint in the air. - Read the instructions on your epoxy to find out how much the "curing" or "setting" time is to determine how long you should wait to allow the epoxy to set.

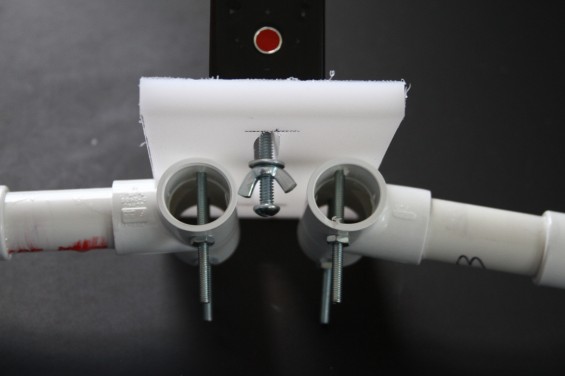
5. Cut out a 4" x 8" piece of the plastic cutting board. - Saws are not very good at making turns. It will be easier to cut all the way through the board. - Use the ruler and marker to draw the lines you will be cutting. - Use the jig saw to cut along the lines. 6. Mark out the remaining cuts in the board (see picture) - 4 holes, 1" from the edge and 2" apart on each of the long sides. - A centered 5" line.

7. Drill & cut out the remaining marks. - Drill out the 4 holes and 2 holes on either end of the line. - Use the jigsaw to cut out the slot along the line. 8. Drill two holes on each T-joint, 2" apart, all the way through the joint. 9. Use the 4 longer screws and 4 nuts to fasten the board to the wings. - Optional: instead of nuts, you can use 4 wing nuts to allow tightening by hand. - Optional: use a dremel to trim the screws. 10. Use the shorter screw, washer, and wing nut to secure the camera to the board.

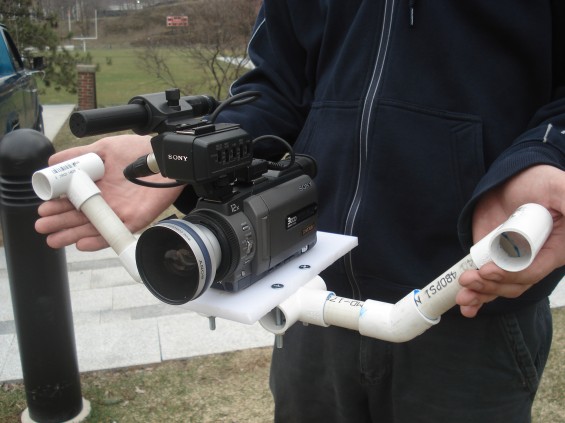
And here is how it looks with the camera mounted on.

42 Days of Flying

Saba Ghole

Short film on NuVu's first studio program held in Bangalore, India for 6 weeks (42 days) from April 15-May 24 2013. The NuVu-Bangalore Studio had students from across India as well as students from the United States collaboratively problem-solving and working on projects based around the theme of "flying."

Produced by NuVu Studio
Music by Delhi 2 Dublin
Envisioning Parallel and Futuristic Worlds

Saba Ghole


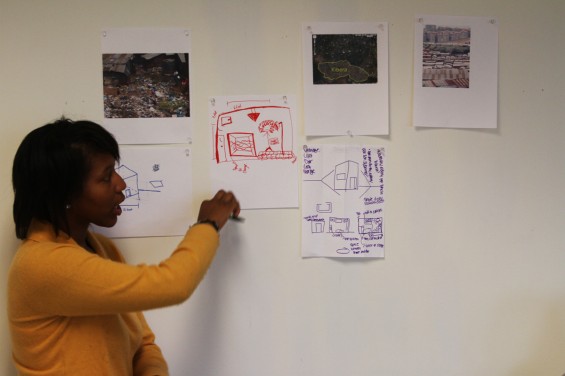
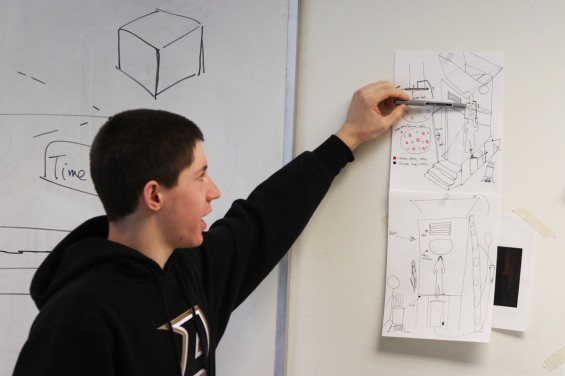
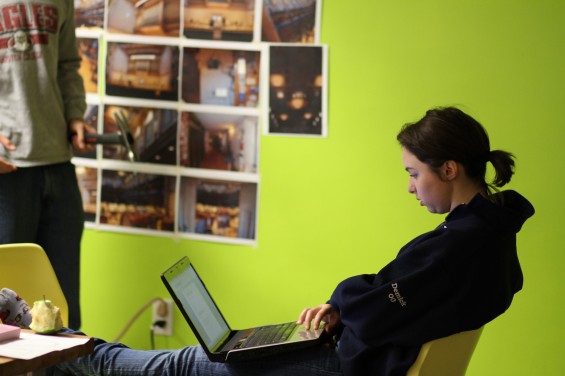
Envisioning Now, Day 4 by S. Adrian Massey III 10/21/10 We started work on our final projects. The final projects used the same processes as the first few days except extended over a full week. The constraints of the final project were to interview a friend that has an interesting occupation to find moments of unmet needs. In researching the occupation of the interviewee the students created vision boards to represent a parallel or futuristic goal for the world surrounding that occupation. The deliverables for the project were a questionnaire and answers, occupation research, vision board, design iteration, design specs, model, infomercial and storyboard. In the morning students were directed to research their self-selected occupation. From this research, they constructed interview questions with an emphasis on being concise and respectful to the interviewees time. Afterwards they conducted their interviews, built vision boards, design iterations, specifications, or storyboards. The occupations that were selected were a symphony hall director, detective, cardiologist, architect/urban designer, and a rocket scientist. Envisioning Now, Day 5 by S. Adrian Massey III 10/22/10 We began the day reviewing visions of science fiction illustration. The aim was to highlight the lengths to which a visions subject matter can be illustrated and that the vision boards can be abstract and exceptionally artistic elements. After the presentation, the students continued work on their final projects.