Winter 2018 Skills Week

How to setup the new cloud

Saeed Arida

How to setup the NuVu Cloud


All users can use NuVu's cloud service to share files for lasercutting and between collaborators. There are two options for accessing NextCloud, on the Web or through a client. Using the desktop client is preferable, but if you have issues, the web client works as well.

Desktop Client

  1. Download next cloud using the addresses below:
    mac client https://download.nextcloud.com/desktop/releases/Mac/Installer/Nextcloud-2.3.3.84.pkg
    windows client https://download.nextcloud.com/desktop/releases/Windows/Nextcloud-2.3.3.1-setup.exe
  2. Double click on the file to install Nextcloud. 
  3. For the server, enter: https://nextcloud.nuvustudio.com
  4. For logging in, use your login info for nuvustudio.com (your email and your NuVu password)
  5. Accept the default settings by clicking on "Connect"
  6. On the next screen, click "Open Local Folder" This is where the NuVu cloud will sync to your machine.
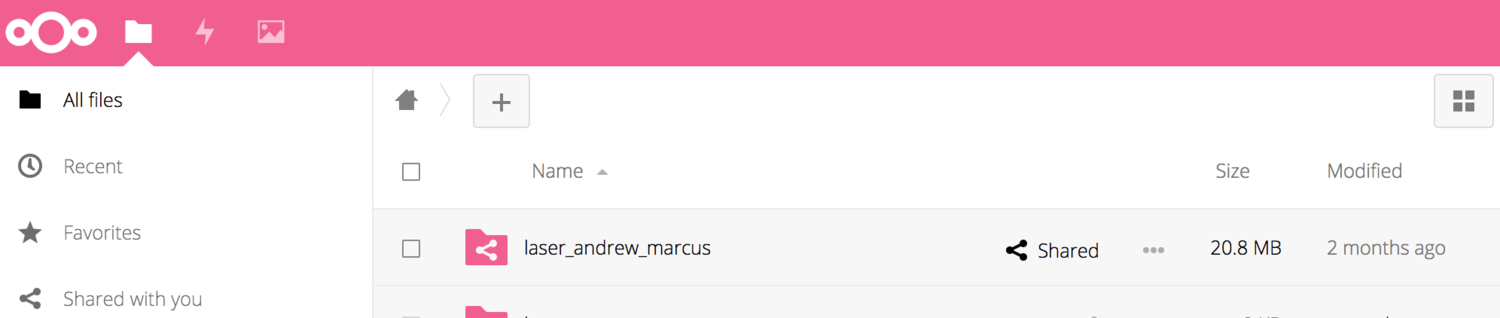
  7. After the installation is complete, go to Finder and create a new folder called "laser_your name" under "Nextcloud"
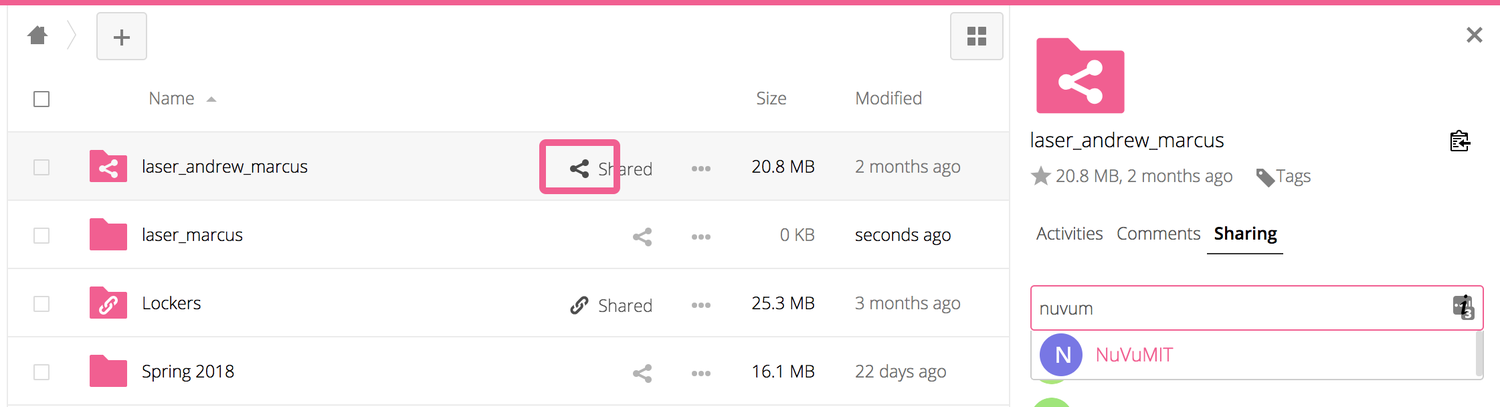
  8. Right click on that folder, choose "share with Nextcloud" and share it with the following users:
    • If you are at NuVu main space, share with "lasercutter". 
    • If you are at MIT, share with "NuVuMIT"
  9. That will create a link to your laser cutter folder in the laser cutter computer. 


Web Client

  1. Navigate to https://nextcloud.nuvustudio.com
  2. Use your login info for nuvustudio.com (your email and your NuVu password)
  3. Create a new folder called "laser_your name" under "Nextcloud"
  4.  Click on the share iconfor the folder, choose "share with Nextcloud" and share it with the user name provided by your Coach.
    • If you are at NuVu Cambridge, share with "lasercutter". 
  5. That will create a copy of your laser cutter folder in the laser cutter computer. 

Presentation

Manuel Gold
1 / 15

The Porcuphant is a hand-powered kinetic creature based on what you would get by crossing Porcupine with an Elephant.  Our hours of iterations come together to make the ultimate Porcupine-Elephant experience.

The inspiration for the Porcuphant came from a problem; a clear lack of affordable, easy to use, versatile combination of Porcupines and Elephants.  The solution was the Porcuphant.  A cardboard, easy-to-make, moving animal.  The Porcuphant is perfect for toddlers, adults, and everyone looking for a fun and versatile toy to burn off some stress with.

The Porcuphant utilizes a unique cog/quill mechanism.  Turning the trunk will cause the quills to be pushed up and down by the continuous cog.  The Porcuphant is made of cardboard, with the quills and trunk made out of plastic, and the cam rod out of wood.

Presentation

Jackson Hardin

Brief:

A water bear figurine that moves in a way that is representative of the animal's true motion, utilizing connected parts to orchestrate simultaneous motion.  


Process:

Presented with the challenge of recreating  and modeling an animals motion, I decided to try to represent the motion of an animal so small that its movement almost always go unnoticed. I found that the most compelling motion of the Waterbear came in the distinctive motion of its mouth which moves seemingly in and out of its body, and the juxtaposition of its back legs motion compared to its front. I attempted to capture both of these distinctive aspects. To represent the mouth I modeled a series of concentric and self contained cylinders to mimic the in and out, almost plunger, motion of the Waterbear's mouth. For the legs I reversed the orientation of the back to legs mimicking the orientation in the creature itself. Additionally I worked quite a bit in Rhino to capture the most realistic body shape possible. This ended up being somewhat of a challenge and I worked with several different curve commands in Rhino to refine the shape. Finally I assembled the orthographic creature and connected the three front legs to move in sync, as down by the Waterbear itself. As such, my Waterbear model would move in a convincing and accurate way mimicking the complex and dynamic animal motion.

Precedents

Saba Ghole and Andrew Todd Marcus

Precedents


What is a Precedent?

A precedent is a project done in the real world that can be used to help explain some of the ideas that will be covered in the studio or project. Students should locate and critically evaluate precedents and demonstrate how the content of the relate to their projects. 

Precedents generally fall into a number of categories - conceptual, aspirational, and comparable. 

  • Conceptual precedents explore ideas related to the  studio through critical analysis  of a wide range of largely art-based projects. 
  • Aspirational precedents look at cutting-edge or futurist implementation of technology as related to the studio topic. 
  • Comparable precedents look at nascent or current projects, often in the marketplace, that relate to the theme of the studio at a design and technological level that students can reasonably achieve within the course of the Studio. 

Through a critical analysis and melding of these categories, students can develop ideas for creative and technical innovations based on an expansive understanding of the theme.

What Makes a Good Precedent?

  • Meaningful
    • Provides a rich social, historical or cultural context
    • Highlight examples of current relevant projects
  • Inspiring & Exciting
    • Shows a novel approach
    • Shows a novel design solution
    • Exposes students to concepts, projects, and research that they are unaware of.
    • Helps generate conversation about the studio topic early in the research and brainstorming process.
  • Focused
    • Shows a novel technical, functional, or mechanical application
    • Shows a conceptual application
  • Guiding
    • Shows students options, avenues, and principles at any point during the design process.  Precedents are useful throughout the studio, not just at the beginning.

Posting Precedents

A precedent can be a video or a series of images. Image posts should have a Title and Caption on every slide.

Every Precedent should include the following in the body of the post:

  • The name of the project/device/object/installation/book etc and the name of the creator.
  • A source link to the original content.
  • A reason why the precedent is  it is applicable to the project.
  • Analysis (if appropriate) of the precedent. This can be technical or conceptual. 

Examples

Please see examples below.